Sharpen your pencils for an activity that would bring out the animal lover in you. The muscular, determined creature has wrinkled face, a large head with the powerful lower jaw protruding out and broad chest and shoulders. The characteristic folds on the short muzzle look endearing.
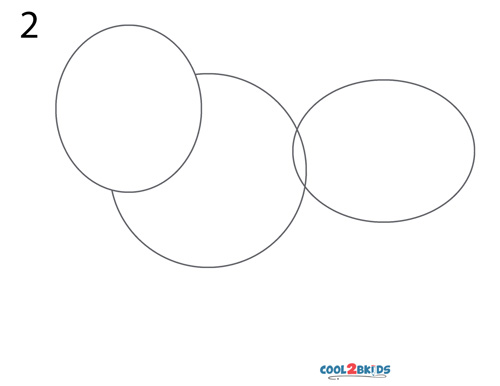
Step 1: Draw 2 overlapping circles.

How to Daraw a Bulldog Step 1
Step 2: Draw another circular shape.
How to Draw a Bulldog Step 2
Step 3: Criss-cross the topmost oval with intersecting lines.
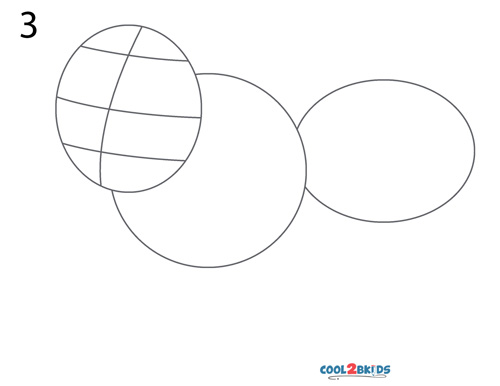
How to Draw a Bulldog Step 3
Step 4: Sketch straight and angular lines with circles at their bases.
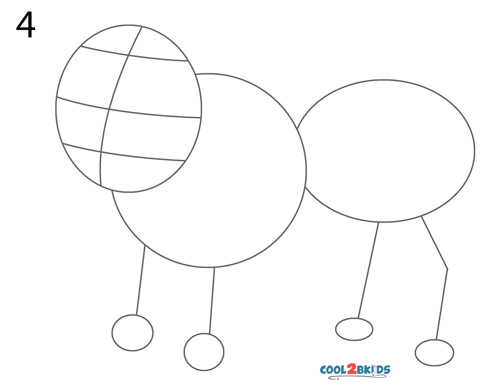
How to Draw a Bulldog Step 4
Step 5: Give shape to an ear.
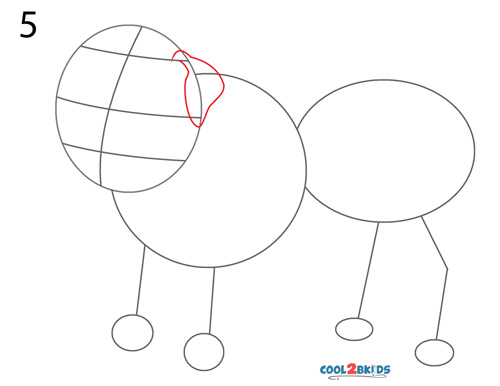
How to Draw a Bulldog Step 5
Step 6: Shape the forehead.
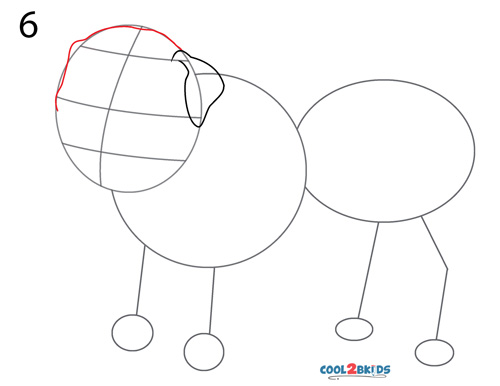
How to Draw a Bulldog Step 6
Step 7: The lower part of the face is outlined.

How to Draw a Bulldog Step 7
Step 8: Draw the nose and the other ear.
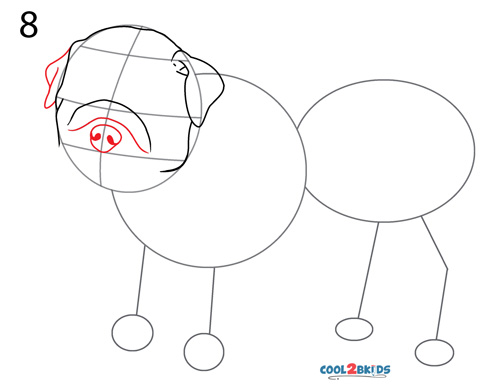
How to Draw a Bulldog Step 8
Step 9: The mouth is now sketched.
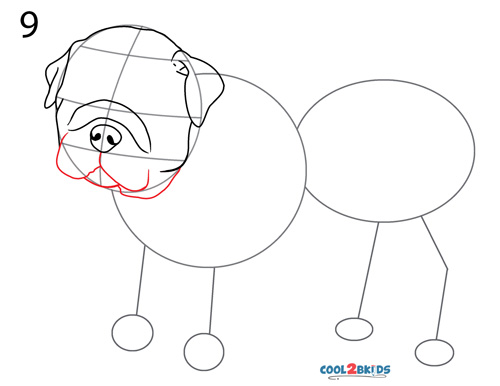
How to Draw a Bulldog Step 9
Step 10: Detail the eyes.
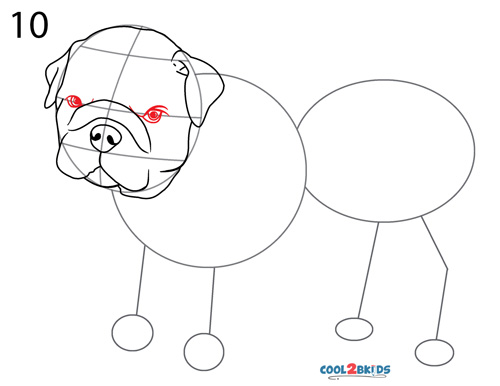
How to Draw a Bulldog Step 10
Step 11: Draw the arched eyebrows and whiskers, wrinkles and folds.
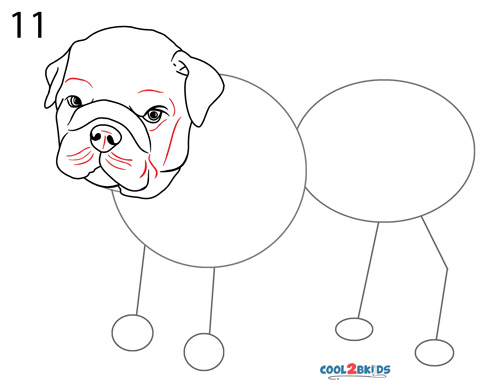
How to Draw a Bulldog Step 11
Step 12: Start outlining the trunk.
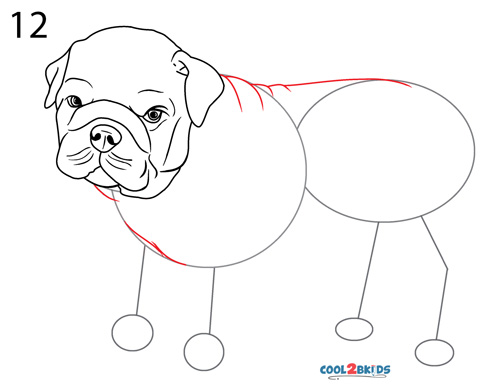
How to Draw a Bulldog Step 12
Step 13: Outline the posterior part of the body.
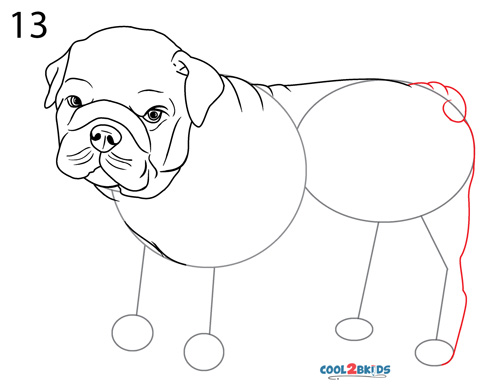
How to Draw a Bulldog Step 13
Step 14: Pay attention to the claws while completing the hind leg.
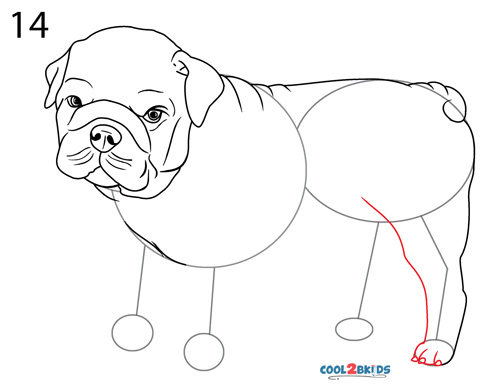
How to Draw a Bulldog Step 14
Step 15: Connect the legs with a curved line depicting the belly. Start drawing the right front leg.
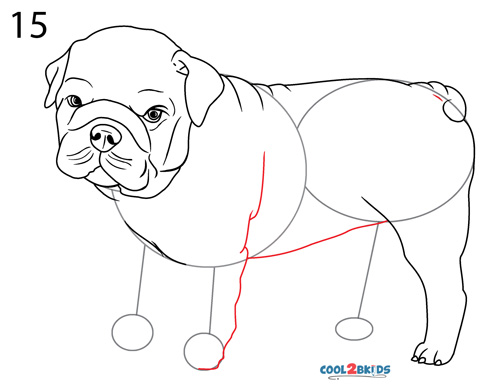
How to Draw a Bulldog Step 15
Step 16: Properly detail the clawed paw while finishing the leg.
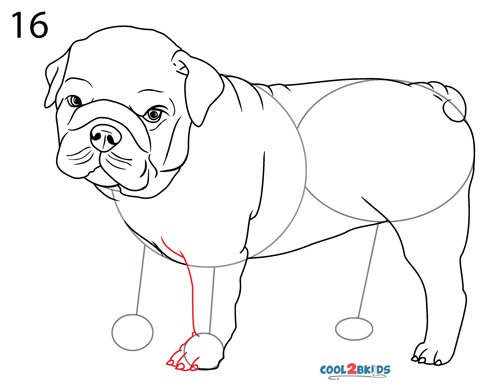
How to Draw a Bulldog Step 16
Step 17: Now start outlining the left leg in the front.
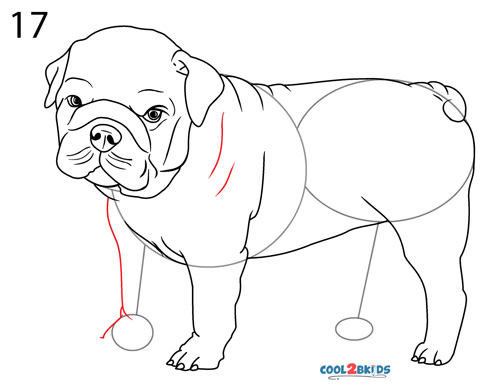
How to Draw a Bulldog Step 17
Step 18: Complete it with curved lines.
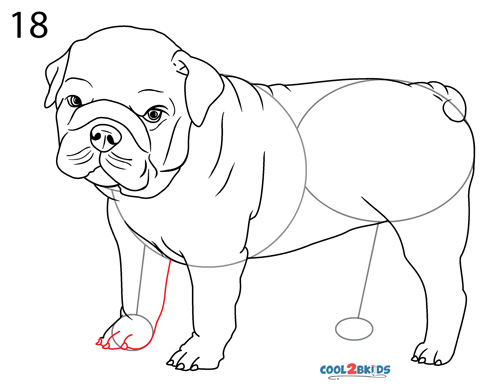
How to Draw a Bulldog Step 18
Step 19: Start the hind leg at the back with an arch and finish with the paw at the base.
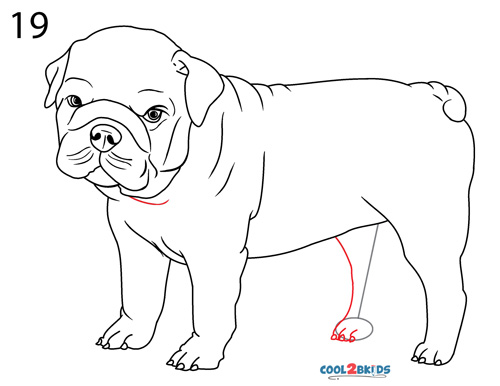
How to Draw a Bulldog Step 19
Step 20: Finish the leg with a soft bulge at the middle.
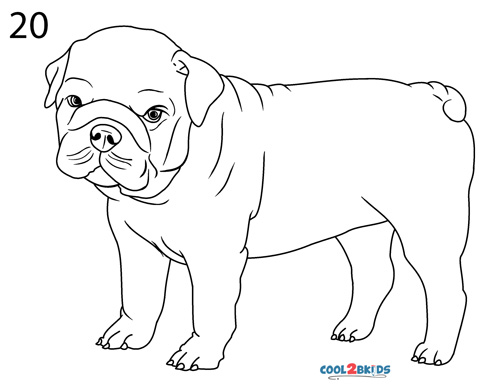
How to Draw a Bulldog Step 20
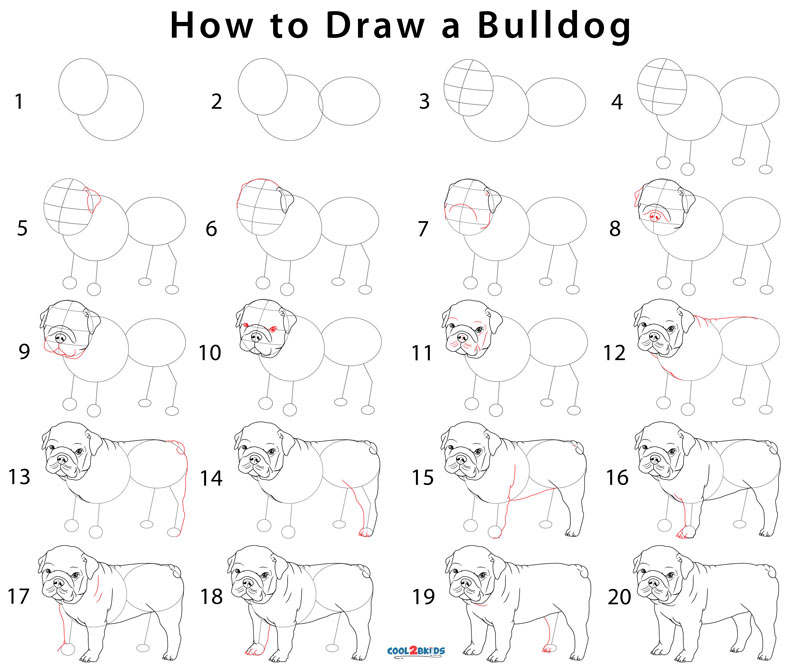
How to Draw a Bulldog Step by Step
You need to erase the guides as you finish with each part. It is important to get the curved lines correct. A little more bulge is required in and around the mouth whereas the legs should be less curvy. The popular pet would look wonderful when done correctly on paper.


