Knowing a simple way to draw a pumpkin can come handy anytime, especially during Halloween when some handmade decorations are always welcome. Following are the simple step-by-step instructions for drawing a perfect pumpkin.
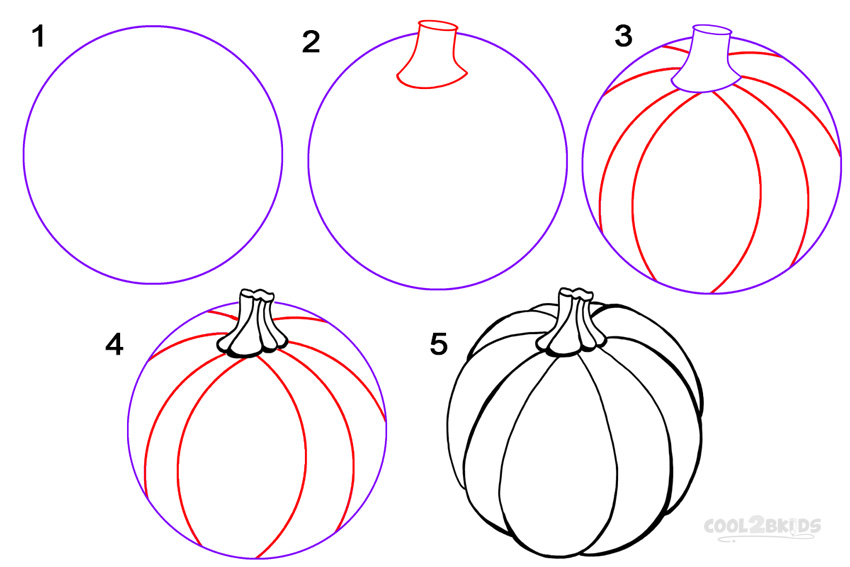
Step 1
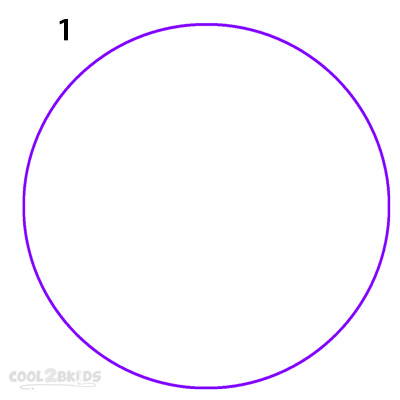
How To Draw a Pumpkin Step 1
- See the first picture to draw a neat circle. Make it as big as you want your pumpkin to be.
Step 2
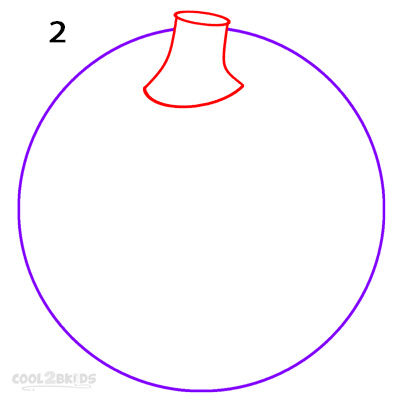
How To Draw a Pumpkin Step 2
- Now, draw two curvy lines and join them at the base with another curved line. Then, draw a narrow oval to join the first two curvy lines (Picture 2). This will later be the stem of your pumpkin.
Step 3
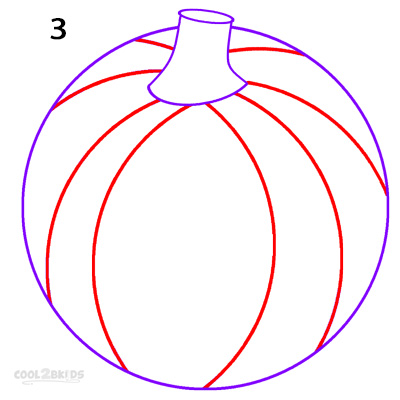
How To Draw a Pumpkin Step 3
- Draw multiple curvy lines running down the circle as shown in picture 3.
Step 4
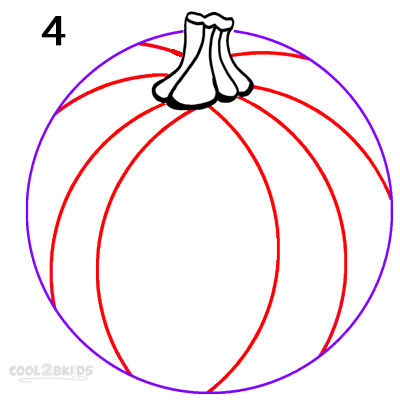
How To Draw a Pumpkin Step 4
- Now, it is time to work over the outlined stem to make it look realistic. See the picture to add a few long lines to give it a ridged appearance.
Step 5
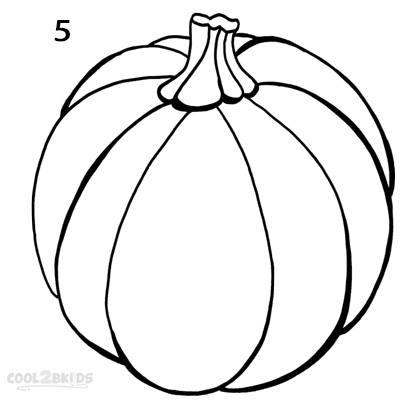
How To Draw a Pumpkin Step 5
- It is the final step where you will be working on the body of your pumpkin. Work over the lines you drew in step 3 to make them more prominent so your pumpkin looks a little uneven instead of perfectly circular (picture 5). Once done, erase the basic circle and see how the ridges on your pumpkin make it look real.
How To Draw a Pumpkin Step by Step


Thank you for your help your a awesome teacher.
Nice!
Agree!