Looking to draw Hello Kitty? Here check these easy step-by-step instructions.
Step 1
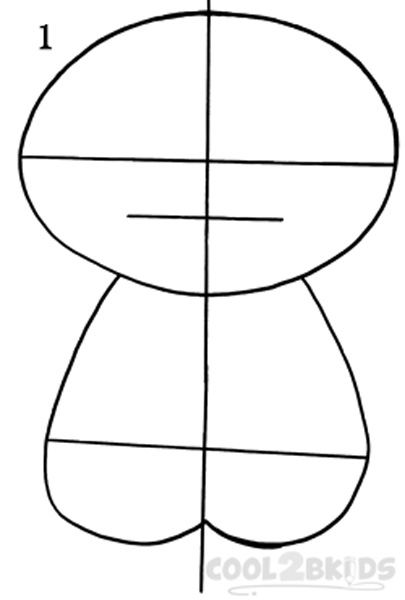
How To Draw Hello Kitty Step 1
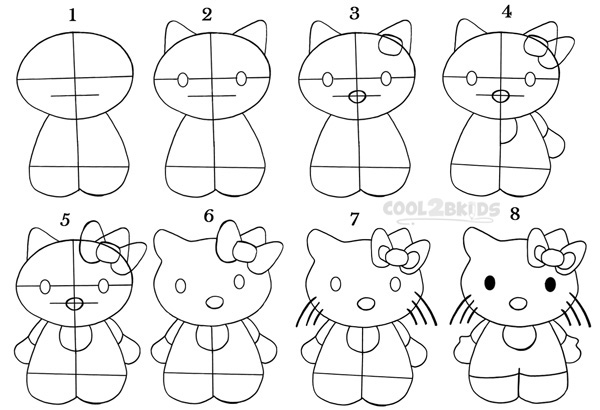
- First, draw a cross followed by an oval (for the head) keeping the cross-section point of the cross at the center. Make a small line parallel to the horizontal line in the cross as shown in picture 1.
- Now, make a ‘W’ with rounded corners, keeping the perpendicular line in its middle. Make another line parallel to the two horizontal lines you made earlier, within the round cornered ‘W’.
Step 2
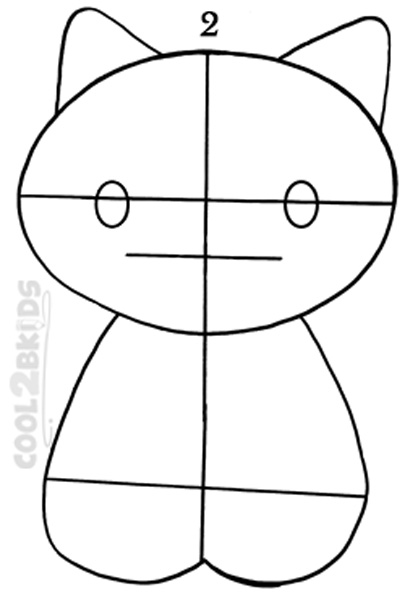
How To Draw Hello Kitty Step 2
- Make two triangles with somewhat rounded corners at the top of the oval for the ears of Hello Kitty.
- Draw two small ovals (for the eyes) on the horizontal line of the cross on either side of the cross-section point as shown in picture 2.
Step 3
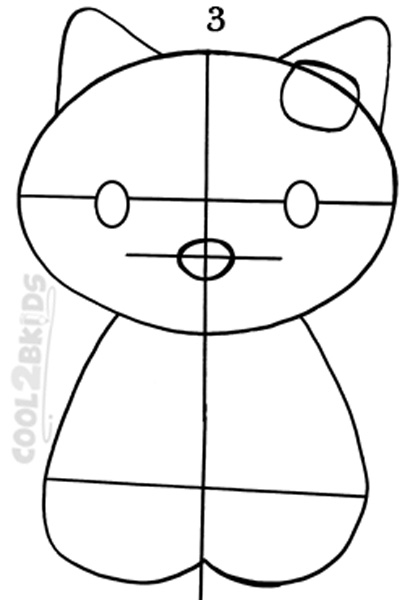
How To Draw Hello Kitty Step 3
- Draw another small oval (a little larger than the eyes) on the cross-section point of the vertical line and the second horizontal line you made in step 1.
- Make a roundish square on top of the head at the base of the right triangle for the center knot of the bow Hello Kitty wears.
Step 4
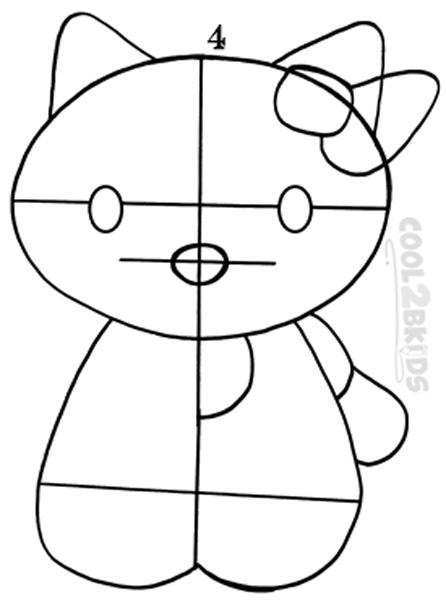
How To Draw Hello Kitty Step 4
- Now, draw the right side of the neckline just below the head and one side of the ribbon as shown in picture 4.
- See picture 4 to make the left hand of your Hello Kitty with curved lines facing the right side of your ‘W’.
Step 5
How To Draw Hello Kitty Step 5
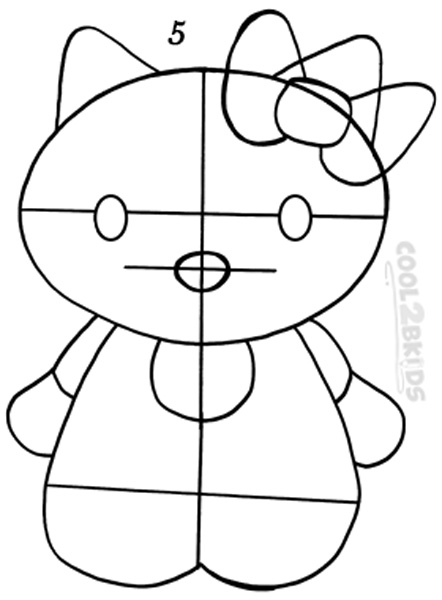
- Draw the other sides of the neckline and the ribbon bow. Be sure to keep them in the right proportion with the other halves you made in the earlier step.
- See picture 5 to make the other arm with similar curved lines, but facing toward the opposite side of the ‘W’.
Step 6
How To Draw Hello Kitty Step 6
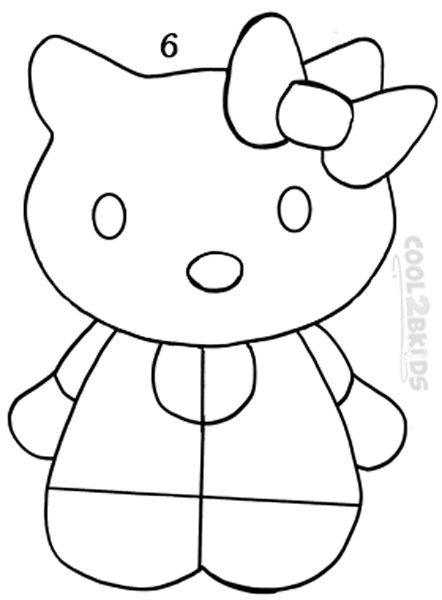
- It is a relatively easy step as all you have to do here is to erase the parts of the basic crossed lines that run through the head of your drawing along with the parallel line running through the nose as well as the parts of the circle cutting through parts of the drawing.
Step 7
How To Draw Hello Kitty Step 7
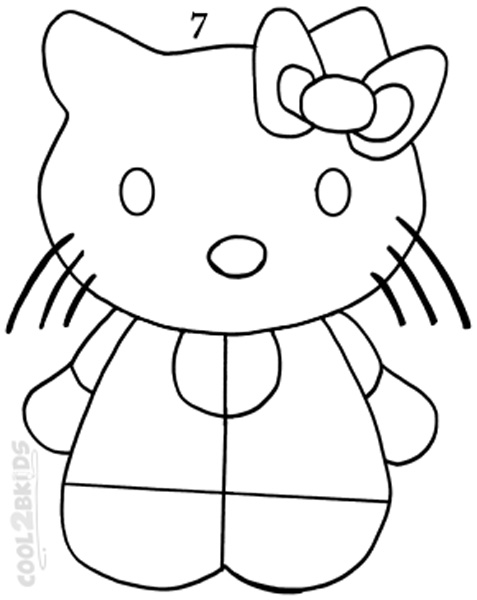
- Add three curved lines on each side of the face as shown in picture 7 for the cute little whiskers.
- Redo the roundish square you made in step 3 to make it smaller and rounder. Also, draw two additional lines on either sides of the bow knot (See picture 7) to make the ribbon look thicker and fluffier.
Step 8
How To Draw Hello Kitty Step 8
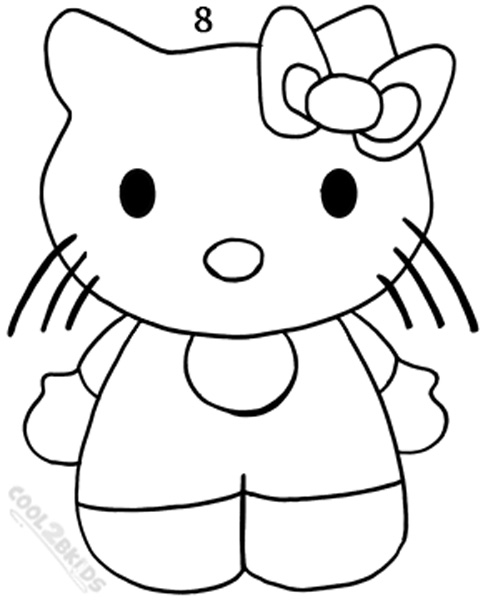
- Draw two tiny thumbs on the sides of the hands you drew in steps 4 and 5 as shown in picture 8.
- Erase the part of the central perpendicular line running through the body and neckline of your Hello Kitty.
- Fill the tiny eyes with black and your drawing is complete.
Hello Kitty


