It is always fun to draw one of the countless classic animated characters presented to us by the magical world of Disney. But, it may seem monotonous to always draw a princess with shiny tiaras and frilly gowns. So, take a break from those royal art works and try your hand at a neat drawing of Stitch, the lovable alien from Disney’s Lilo and Stitch. Here is a step by step drawing with easy instructions to make the job simpler.
Step 1: Start with two large circles, the upper one overlapping the lower one.
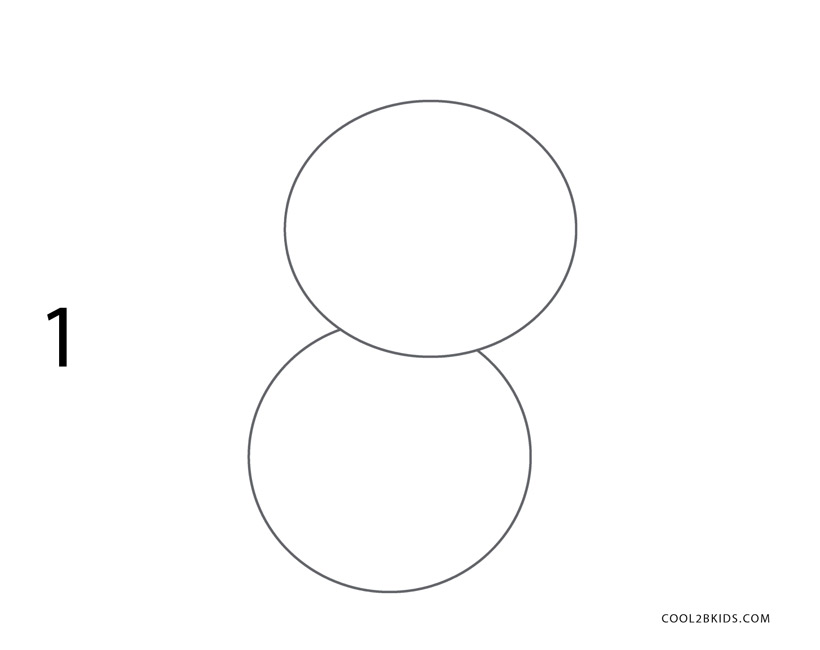
How to Draw Stitch Step 1
Step 2: Make another small circle within the upper circle for your Stitch’s nose. Also, draw two curved lines pointing upwards at the sides of the upper circle for the outlines of his ears.
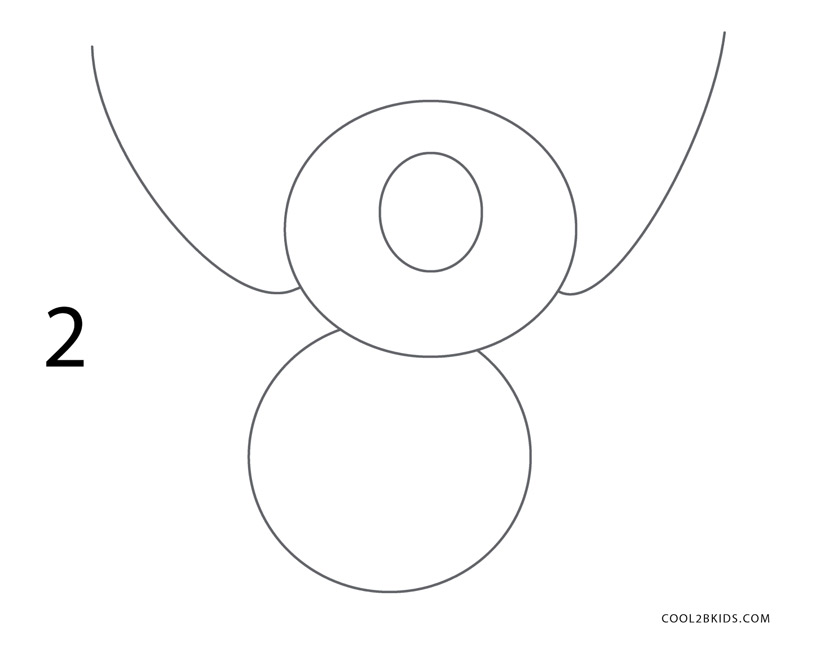
How to Draw Stitch Step 2
Step 3: Draw some facial guidelines in the upper circle, or the head, as shown in the picture. Also, draw two small ovals on two sides of the lower circle, or the body, for stitch’s feet.
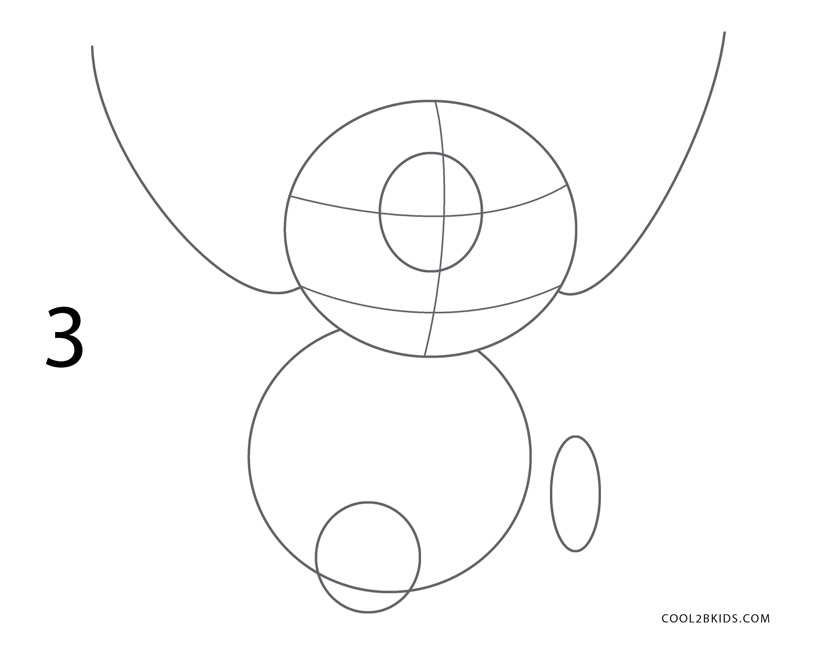
How to Draw Stitch Step 3
Step 4: Follow the pictures and draw the guidelines for the hands.
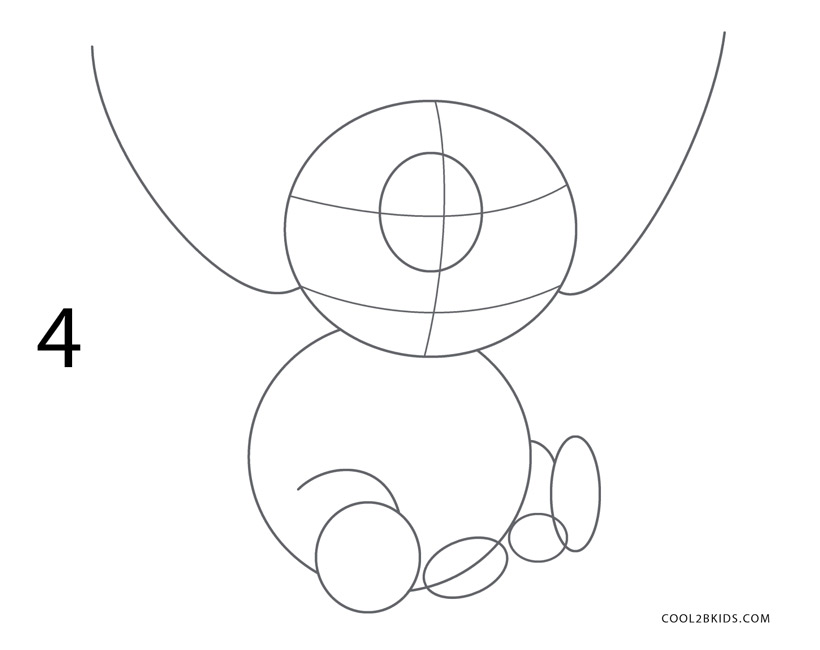
How to Draw Stitch Step 4
Step 5: Now, join the hands and feet to the body as shown.
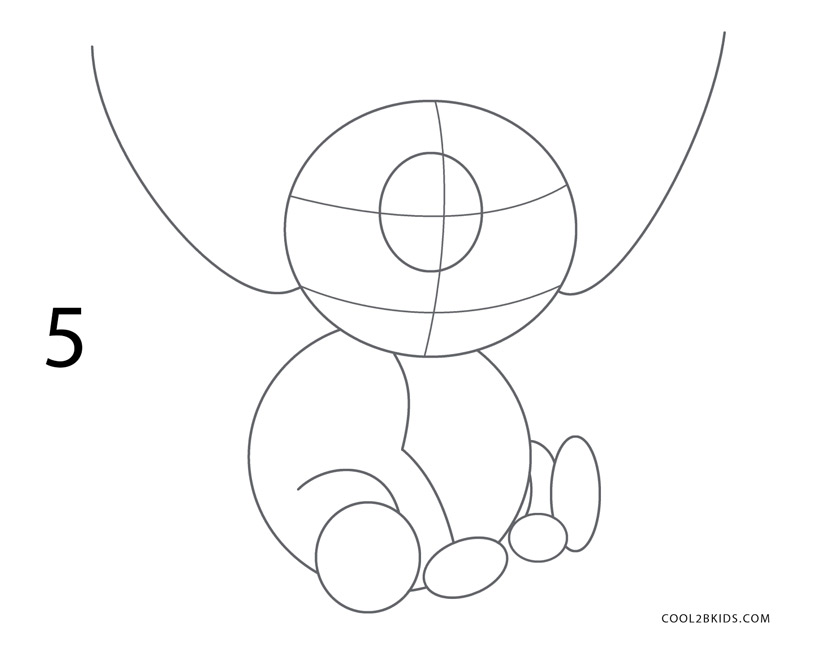
How to Draw Stitch Step 5
Step 6: Time to start working on his eyes, and also draw the nostrils to the circle nose you drew in step 2.
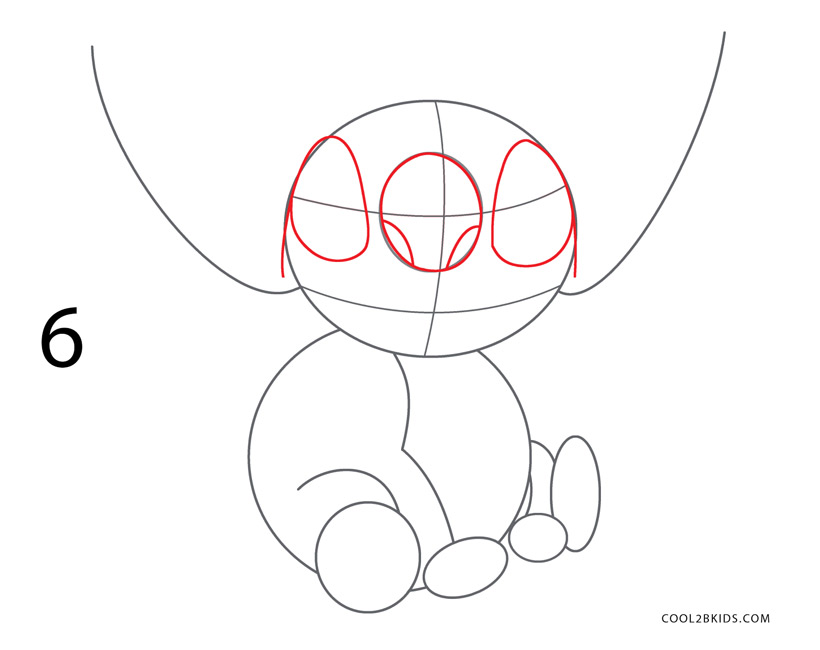
How to Draw Stitch Step 6
Step 7: Use the guidelines and draw his lower jaw.

How to Draw Stitch Step 7
Step 8: Now, draw the little tuft of hair on top of the head.
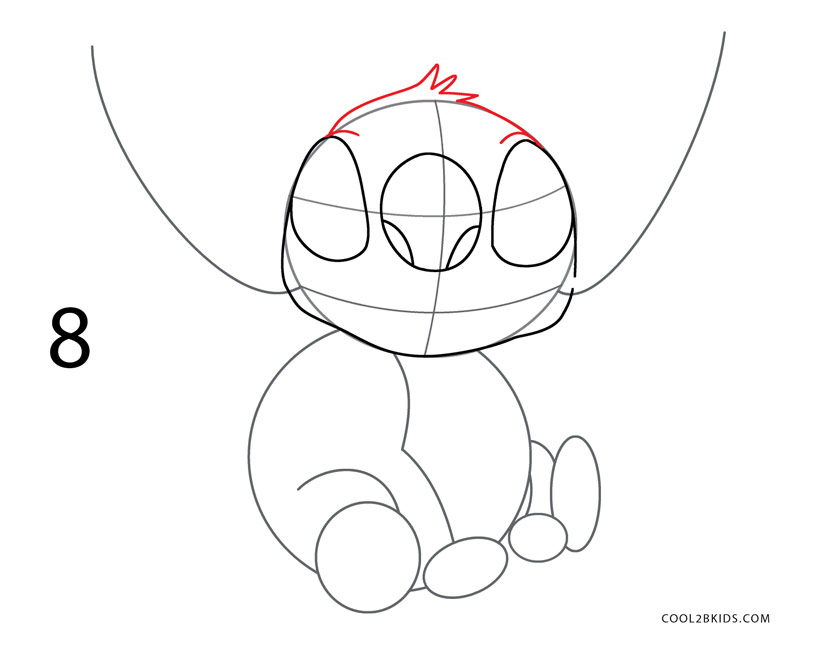
How to Draw Stitch Step 8
Step 9: Use the guidelines, see the picture and draw the mouth and eyes of Stitch.
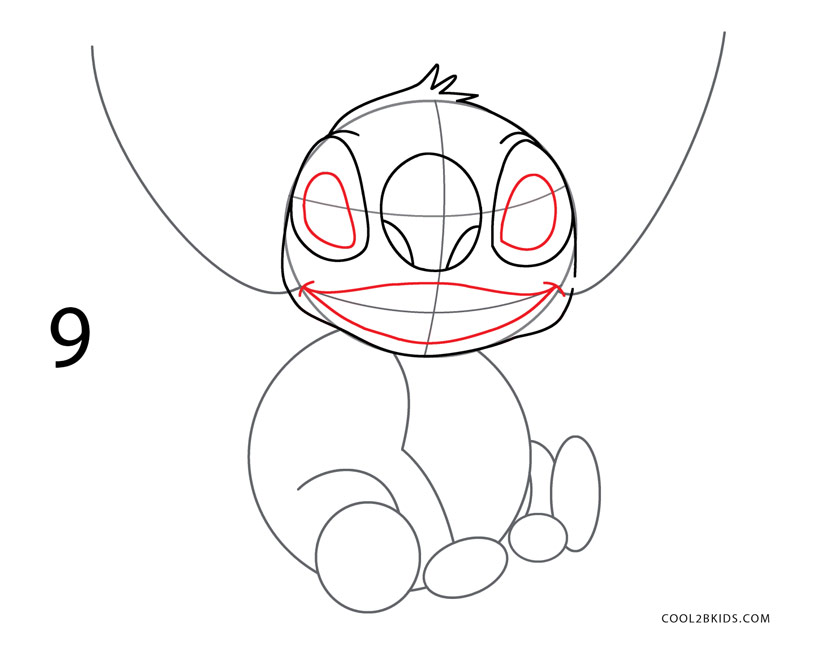
How to Draw Stitch Step 9
Step 10: This is one of the simpler steps where you just have to draw his jagged teeth. Make them sharp!
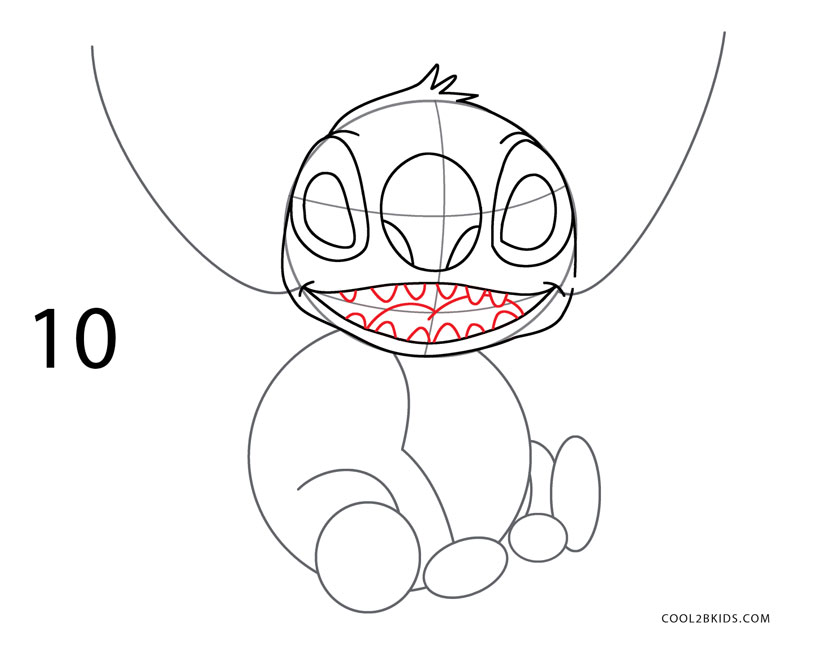
How to Draw Stitch Step 10
Step 11: Draw the right ear, use the guideline, It looks like a feather. Erase the facial guidelines as the face is done.
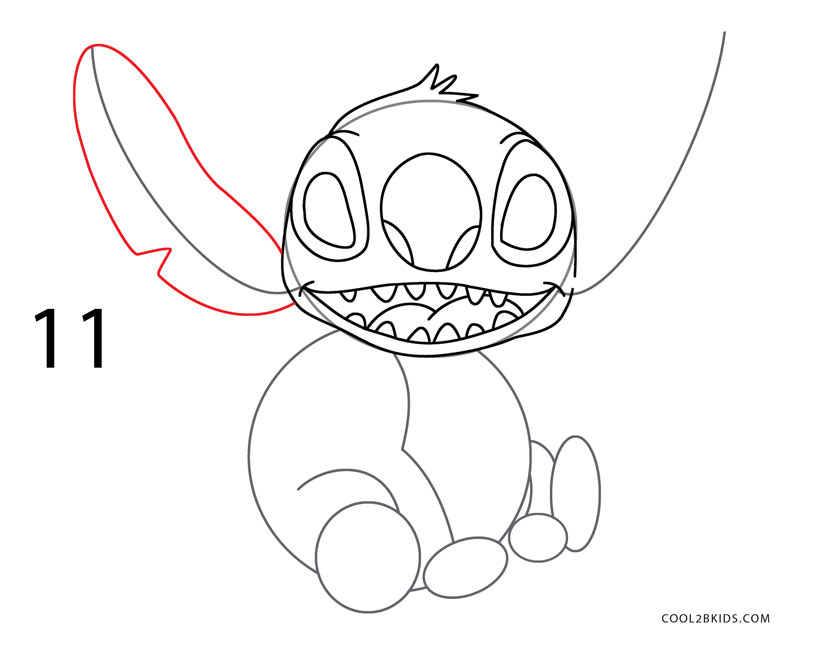
How to Draw Stitch Step 11
Step 12: Do the same for the left ear.
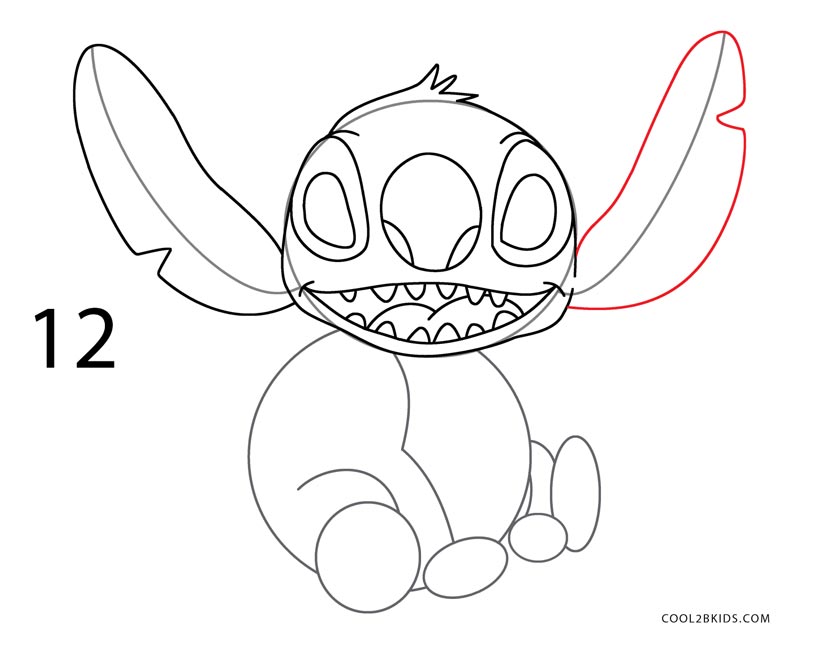
How to Draw Stitch Step 12
Step 13: Add the details to the ears to complete them. Also, make some crease marks over the nose.
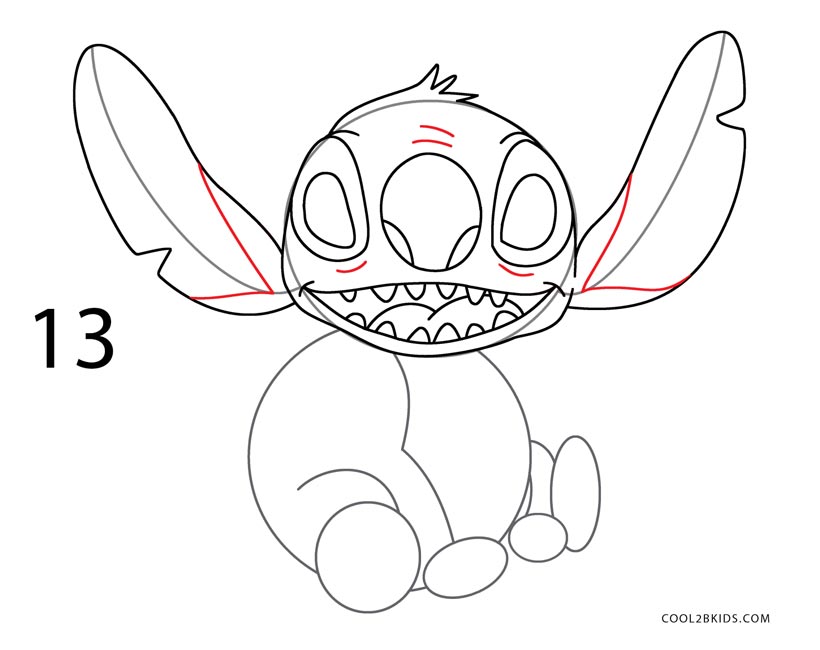
How to Draw Stitch Step 13
Step 14: Carefully draw Stitch’s back, his tiny tail, and the details to his right paw.
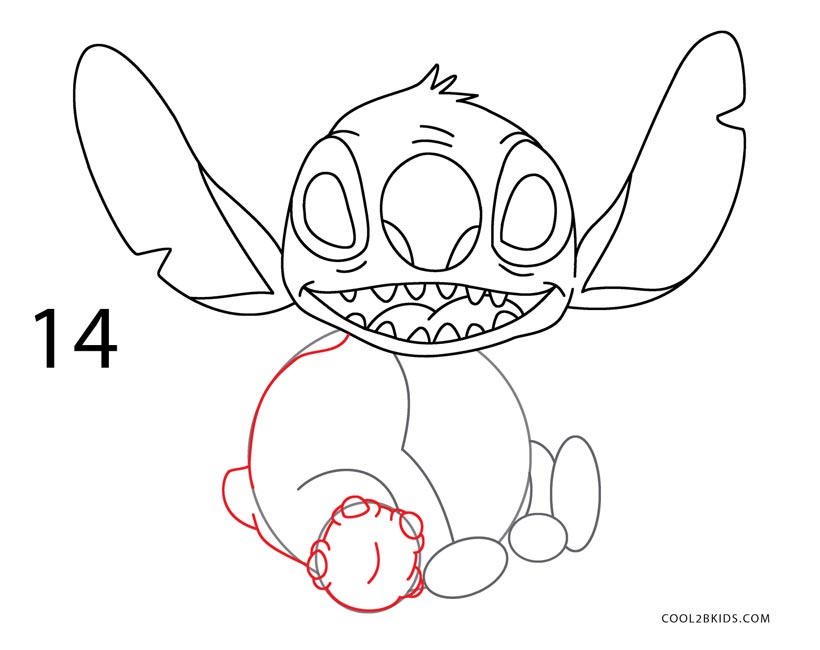
How to Draw Stitch Step 14
Step 15: Draw his right arm, complete with sharp claws. Again, do this carefully.
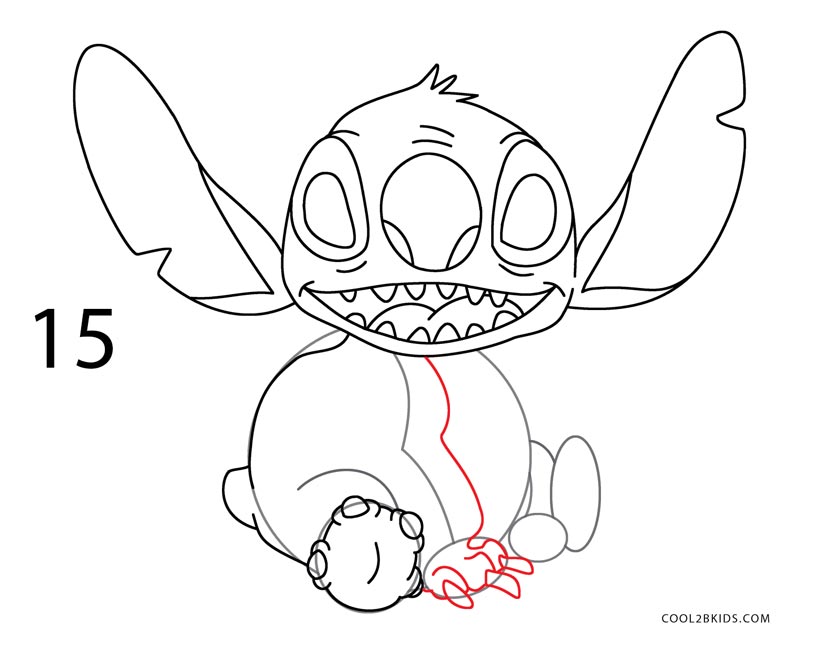
How to Draw Stitch Step 15
Step 16: See the picture and add the details of his furry chest and stocky legs.
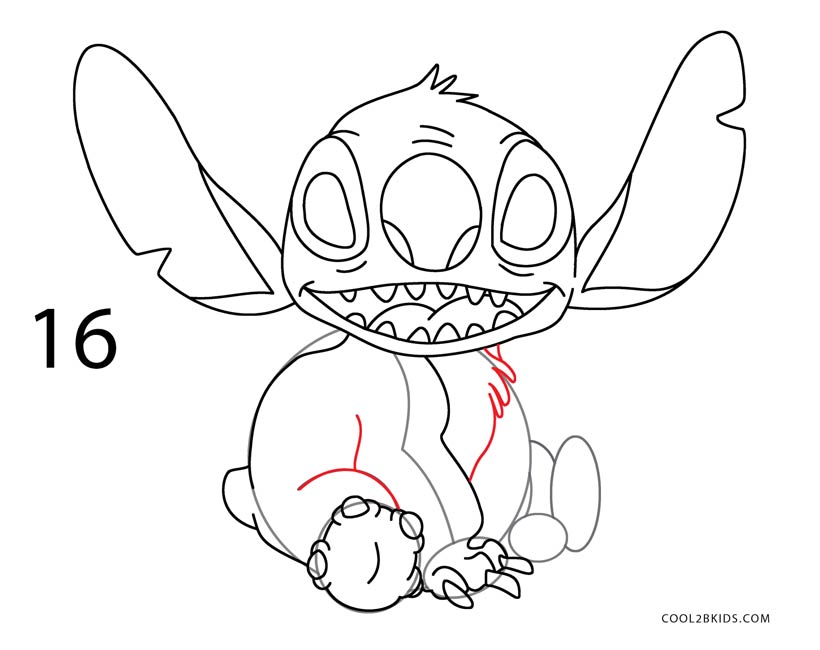
How to Draw Stitch Step 16
Step 17: Time to work on the visible parts of his left arm and claws.

How to Draw Stitch Step 17
Step 18: Your drawing is almost done, just add the details to his left paw as shown.
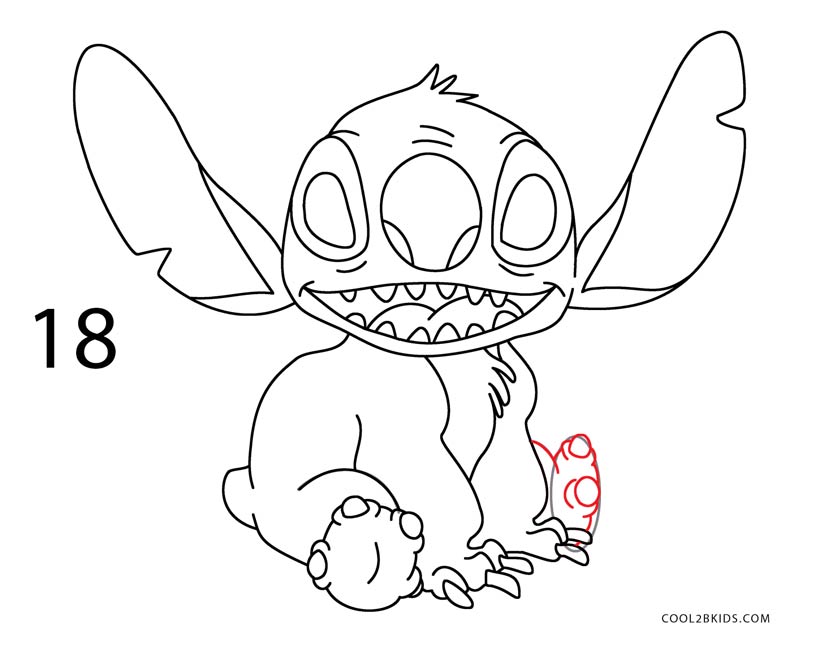
How to Draw Stitch Step 18
Step 19: Fill the eyes with black, leaving a small white dot for the pupils. Complete the underside of the right paw and draw the characteristic circular marks on his back. Erase any leftover guidelines carefully.
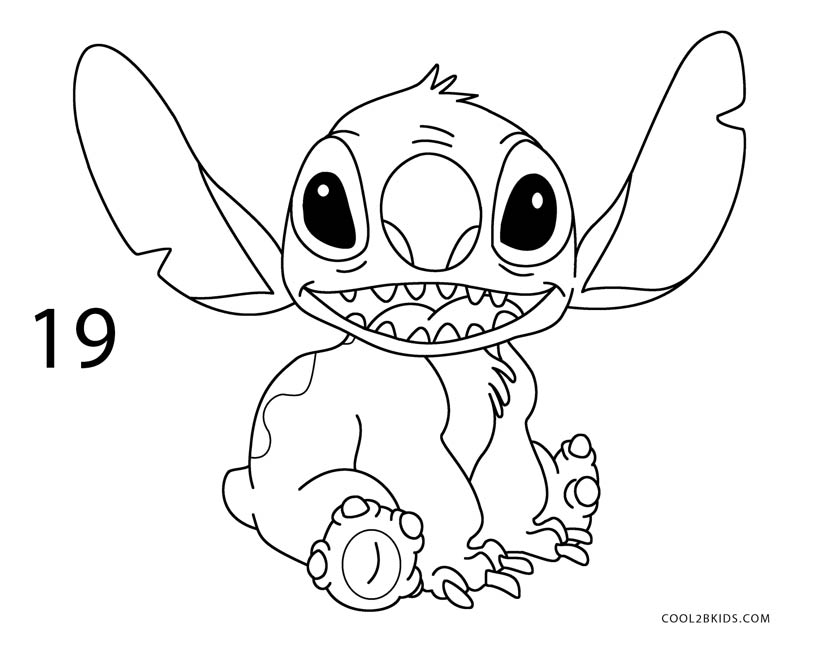
How to Draw Stitch Step 19
Step 20: Now comes the fun part – coloring! Find the right shades and fill the picture. Be sure to color within the lines.
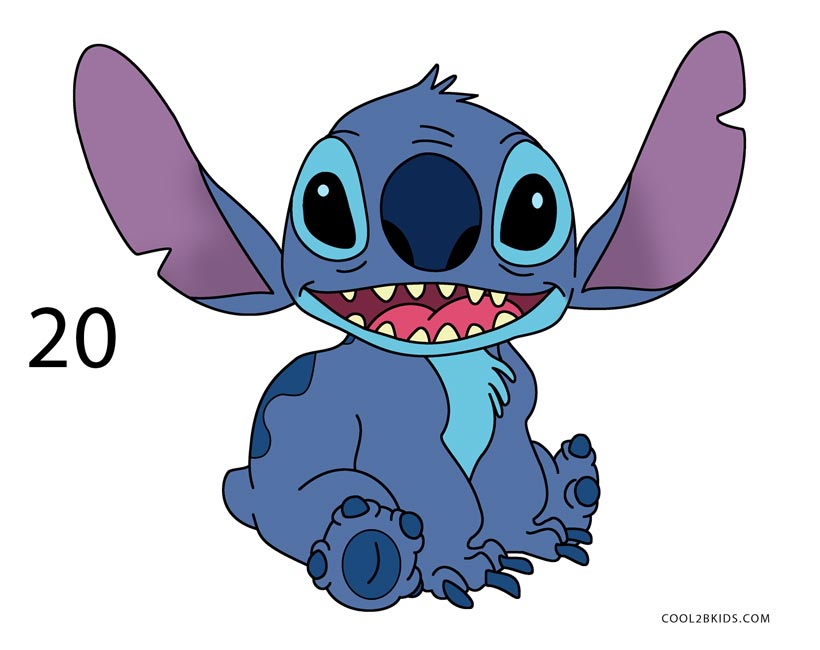
How to Draw Stitch Step 20
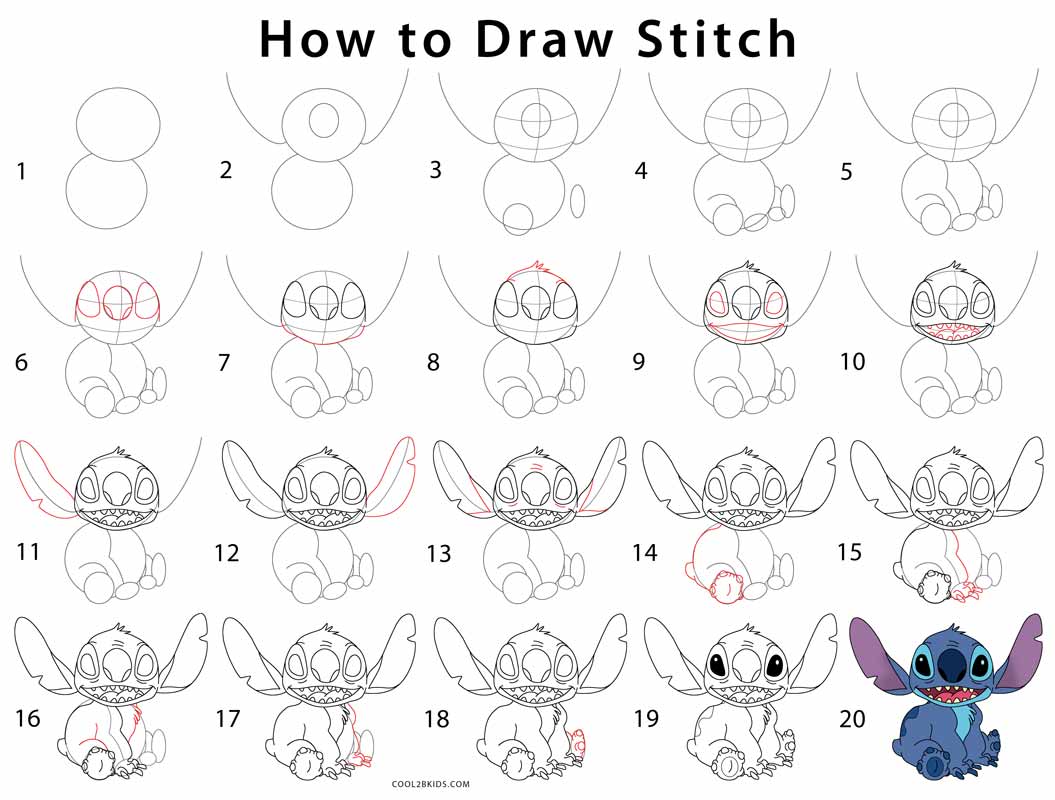
How to Draw Stitch Step by Step
So, now you know how to draw Stitch! And if the drawing didn’t turn out quite like him, don’t worry. Grab another sheet and start again. You can also try other classic Disney characters like Donald, and Goofy. Once you get them all done, you can stick the drawings on your wall to give your room a Disney-look.


I copied all of this and my picture actually came out brilliant so thanks for this
Awesome 👏