The Liberty Bell stands in the Independence Hall of Pennsylvania in proud testimony to the American independence. Though a large crack rendered it non-functional, it has a high historical relevance. It would be great for kids to take the formidable bell as a drawing lesson.
Step 1: Draw a rectangle. Bisect it by a straight line.
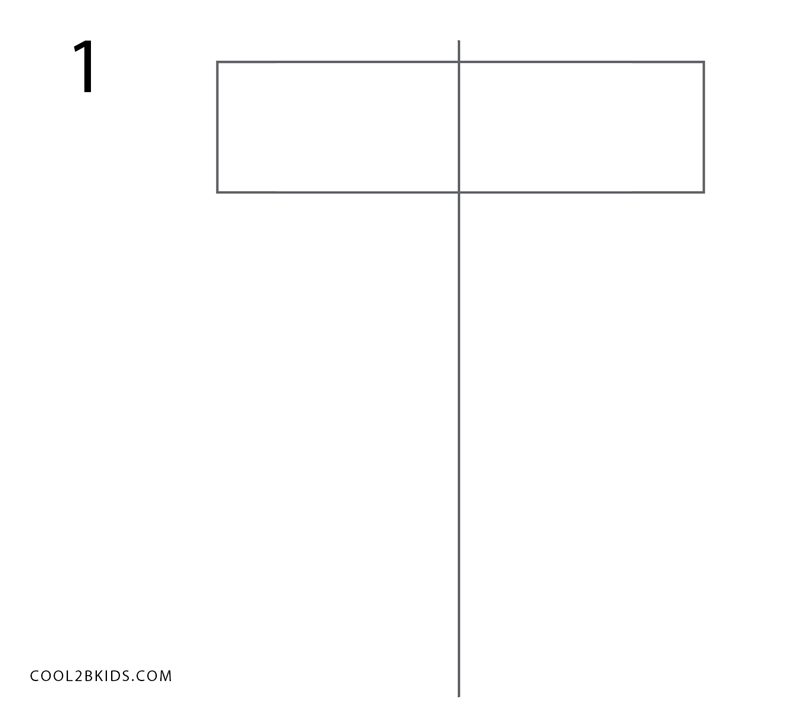
How to Draw the Liberty Bell Step 1
Step 2: Create angular shapes on the top and below the rectangle. The outline of the yoke is made.
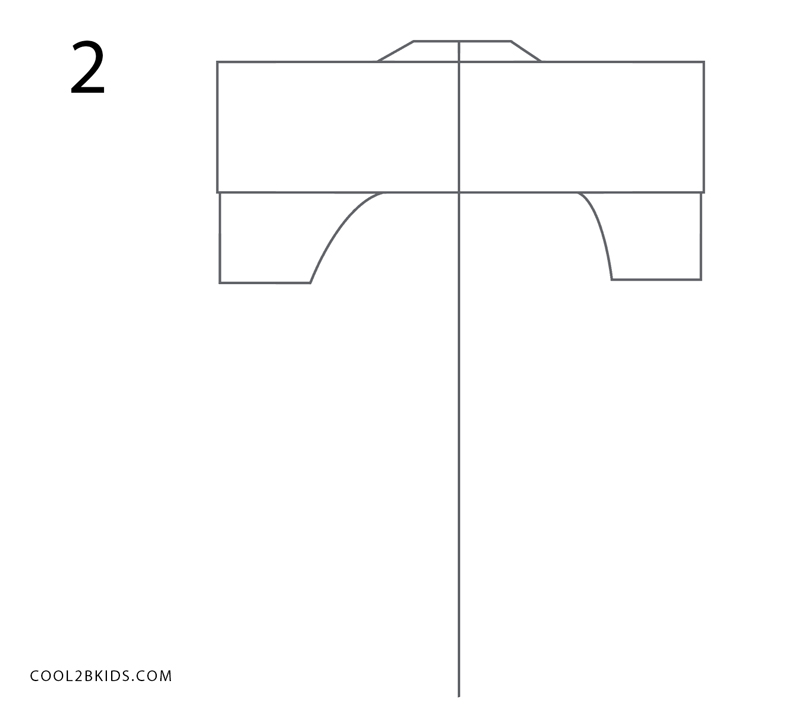
How to Draw the Liberty Bell Step 2
Step 3: Make a neat circle.

How to Draw the Liberty Bell Step 3
Step 4: Draw 4 horizontal lines that serve as guides.
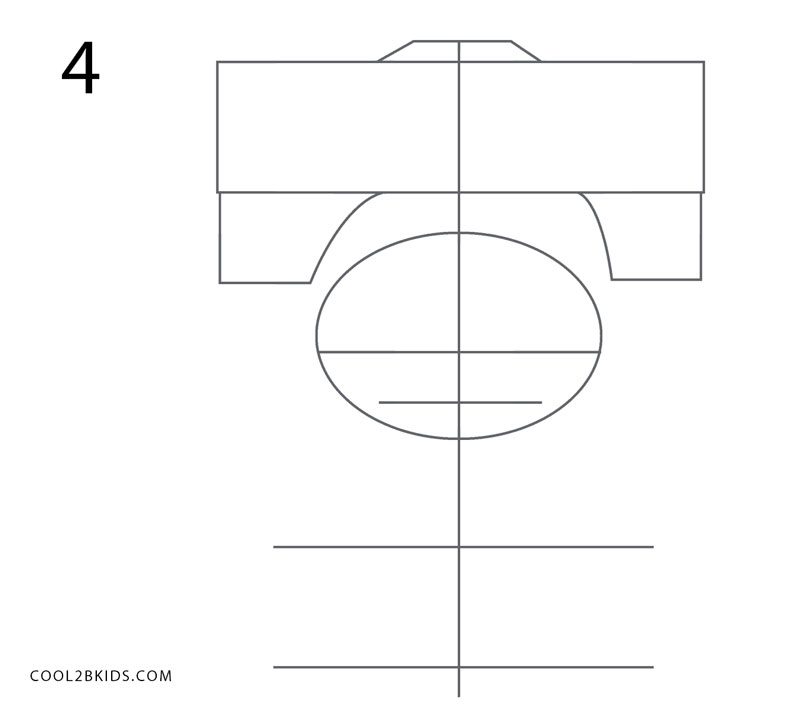
How to Draw the Liberty Bell Step 4
Step 5: Sketch a smaller circle above the one drawn in step 3. Both act as guides.
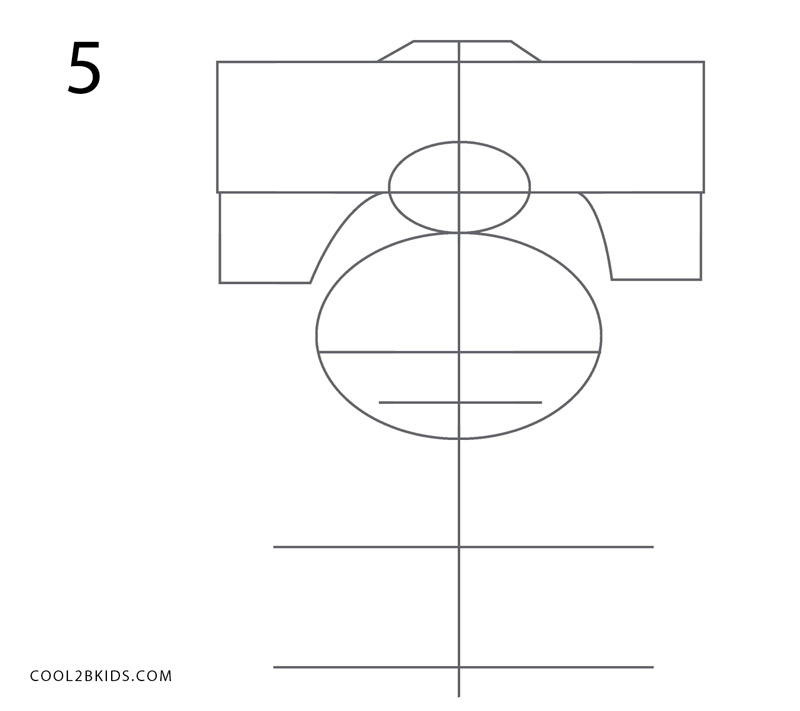
How to Draw the Liberty Bell Step 5
Step 6: Join the 1st and 3rd horizontal line of those drawn in step 4 with arches.
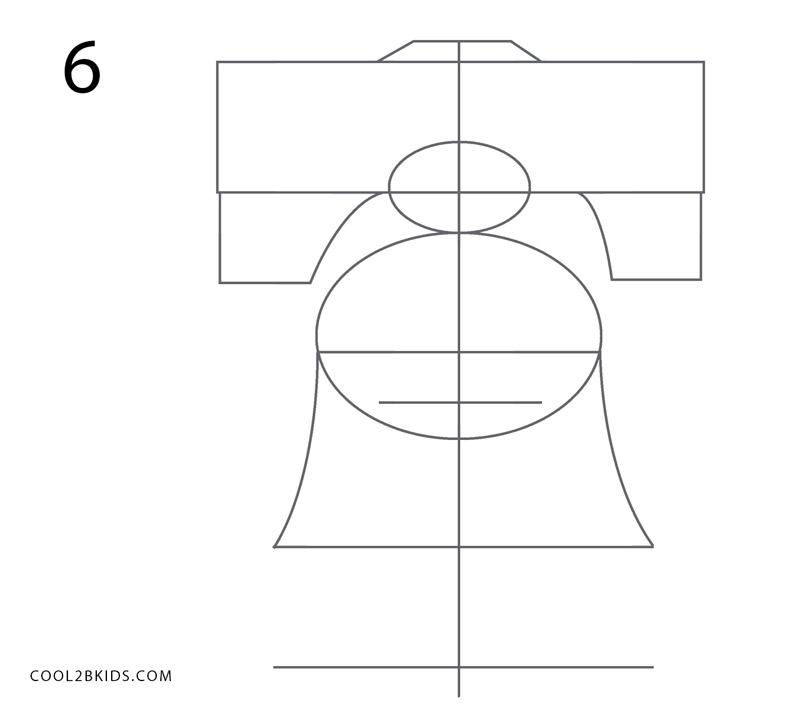
How to Draw the Liberty Bell Step 6
Step 7: Now shape the lip of the bell.
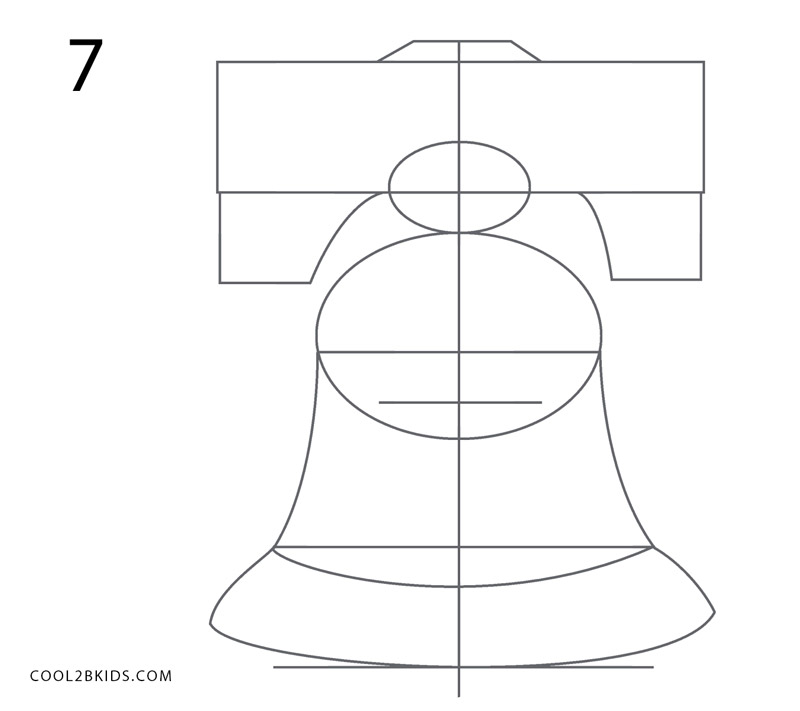
How to Draw the Liberty Bell Step 7
Step 8: Give detailing to the smaller circle.
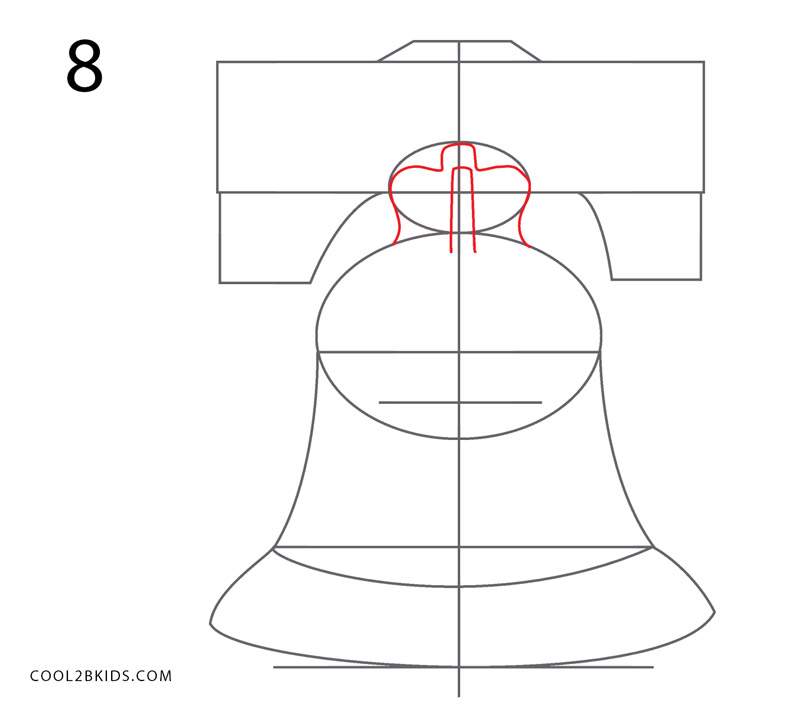
How to Draw the Liberty Bell Step 8
Step 9: The bigger circle is now detailed and the sides of the bell made smooth.
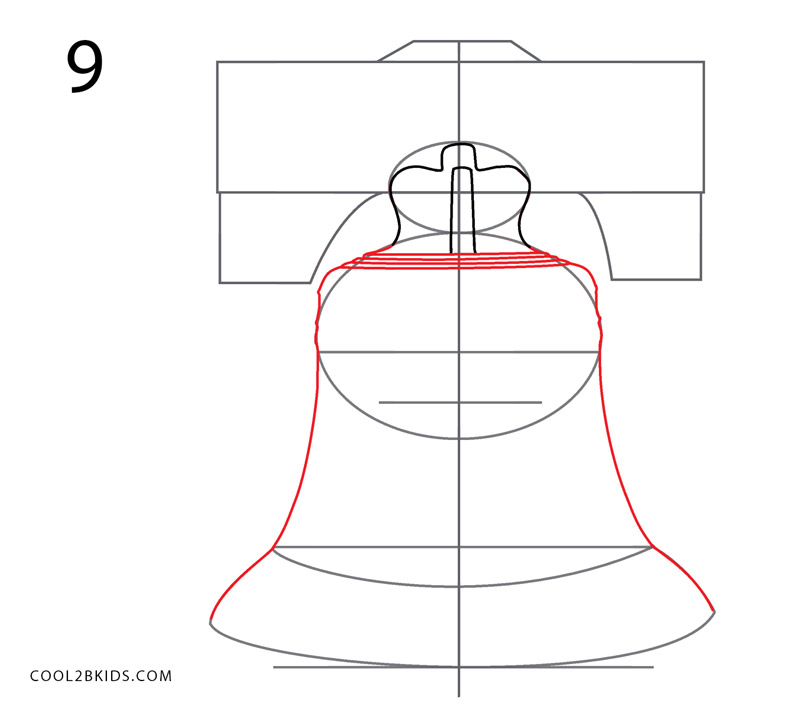
How to Draw the Liberty Bell Step 9
Step 10: Irregularities are made at the bottom of the structure.
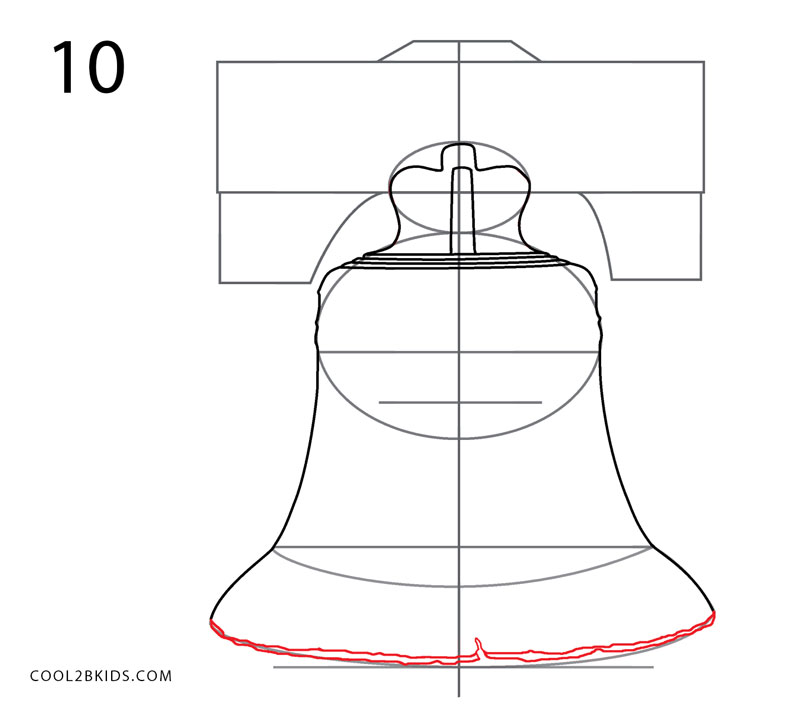
How to Draw the Liberty Bell Step 10
Step 11: The crack is now drawn that extends from the 2nd horizontal line to almost the midpoint of the base.
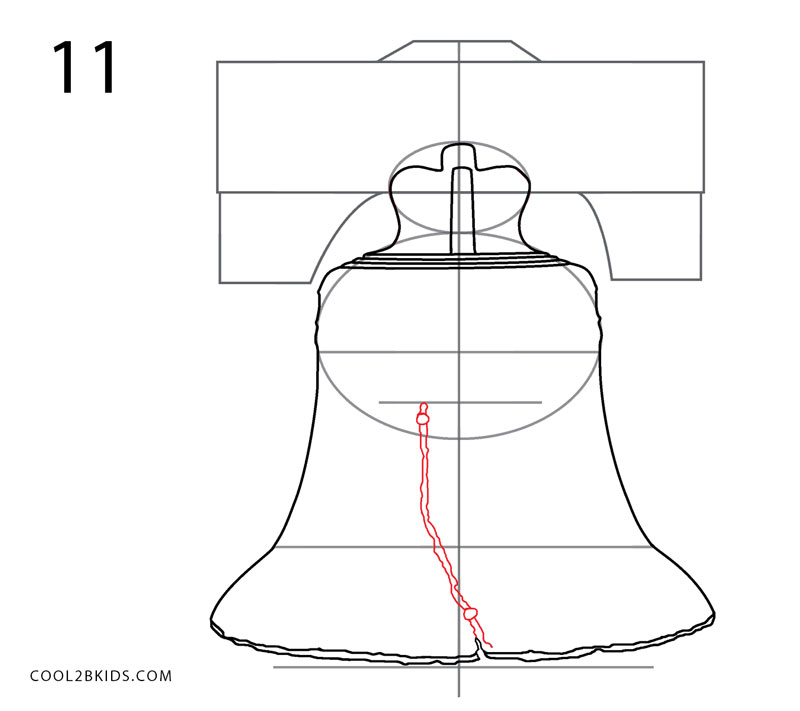
How to Draw the Liberty Bell Step 11
Step 12: Small stout figures line the lip.
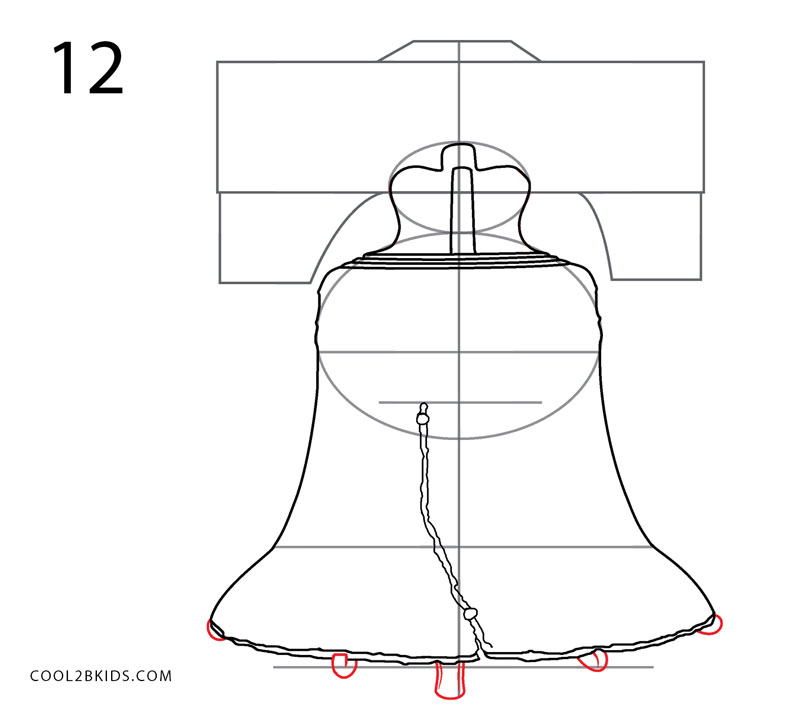
How to Draw the Liberty Bell Step 12
Step 13: The guides are erased. 2 sets of 3 curved lines each are sketched.
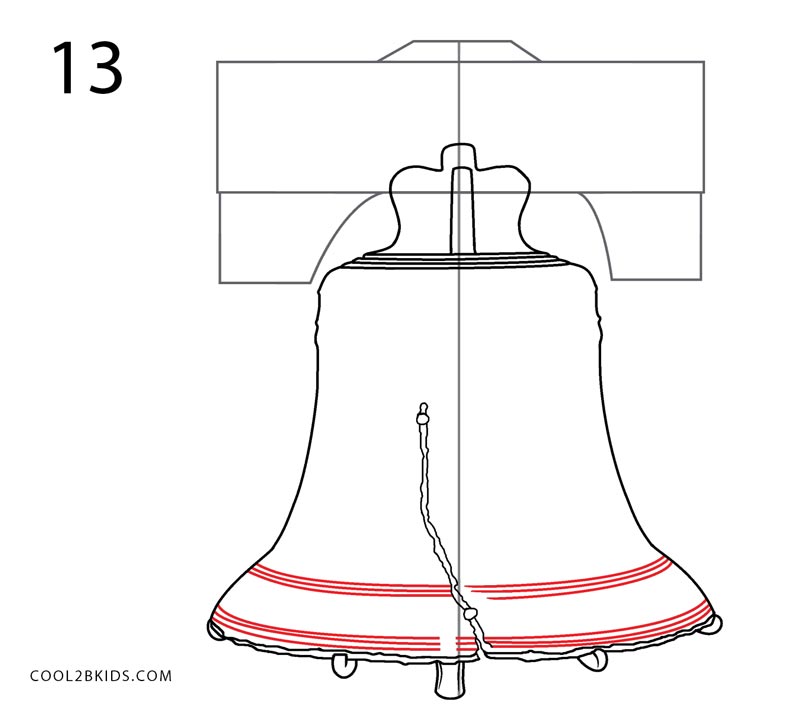
How to Draw the Liberty Bell Step 13
Step 14: Horizontal and curved lines on the shoulder of the bell render a fine design.
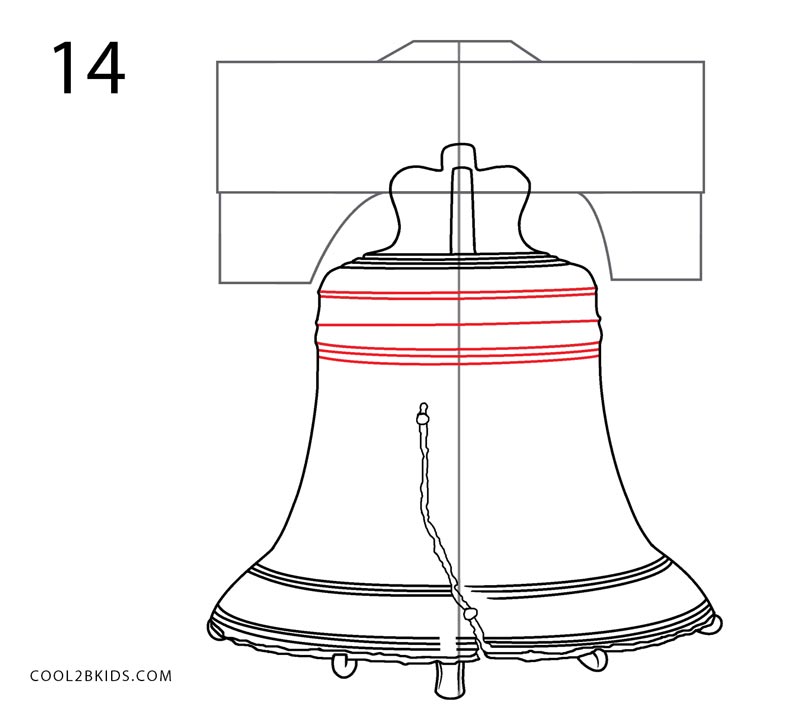
How to Draw the Liberty Bell Step 14
Step 15: Double lines ending in rhombuses with circles at the centers are made.
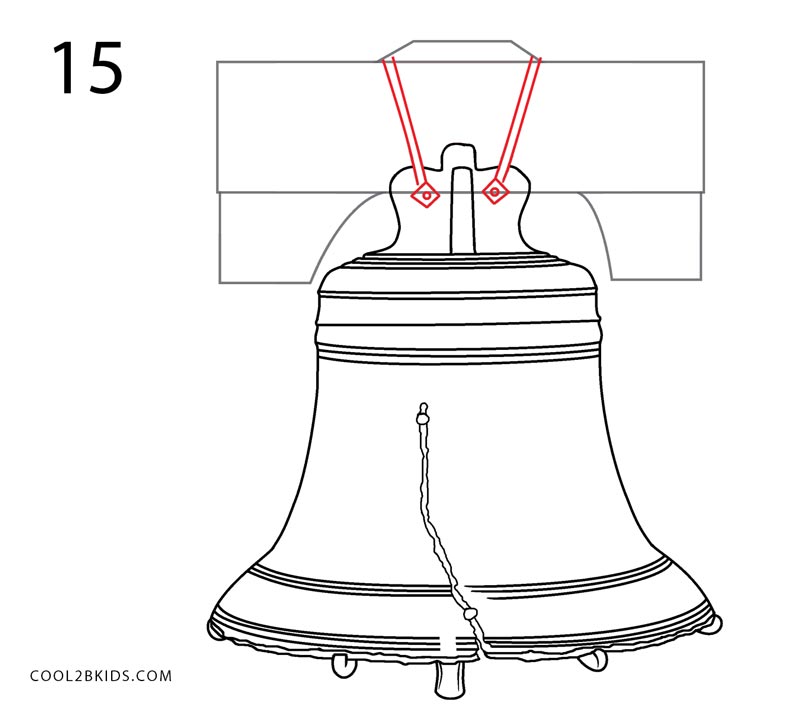
How to Draw the Liberty Bell Step 15
Step 16: The rhombuses are surrounded by curves.
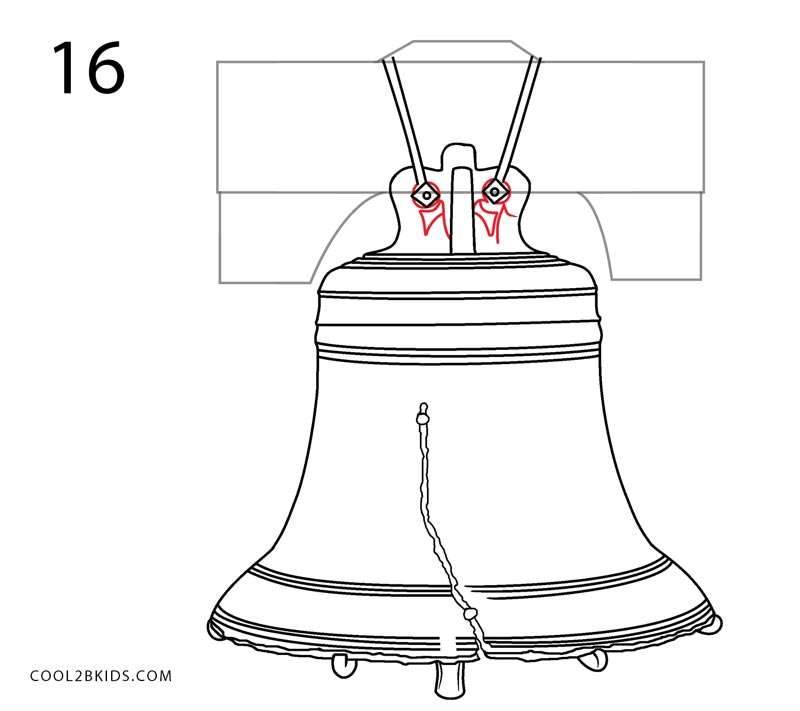
How to Draw the Liberty Bell Step 16
Step 17: The upper edge of the yoke is made irregular.
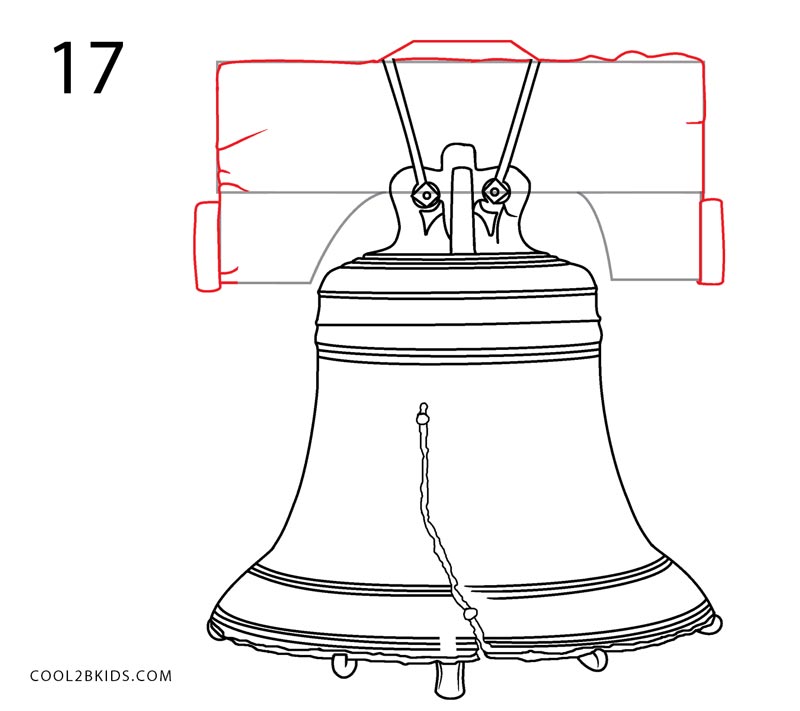
How to Draw the Liberty Bell Step 17
Step 18: Screws are drawn on top.
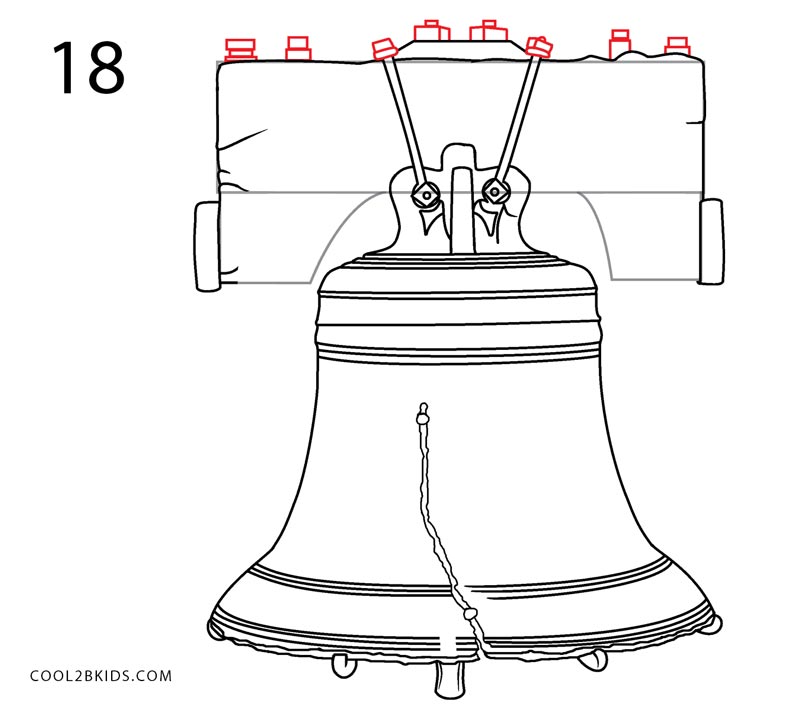
How to Draw the Liberty Bell Step 18
Step 19: Now it is the turn of the lower border to sport a broken look.
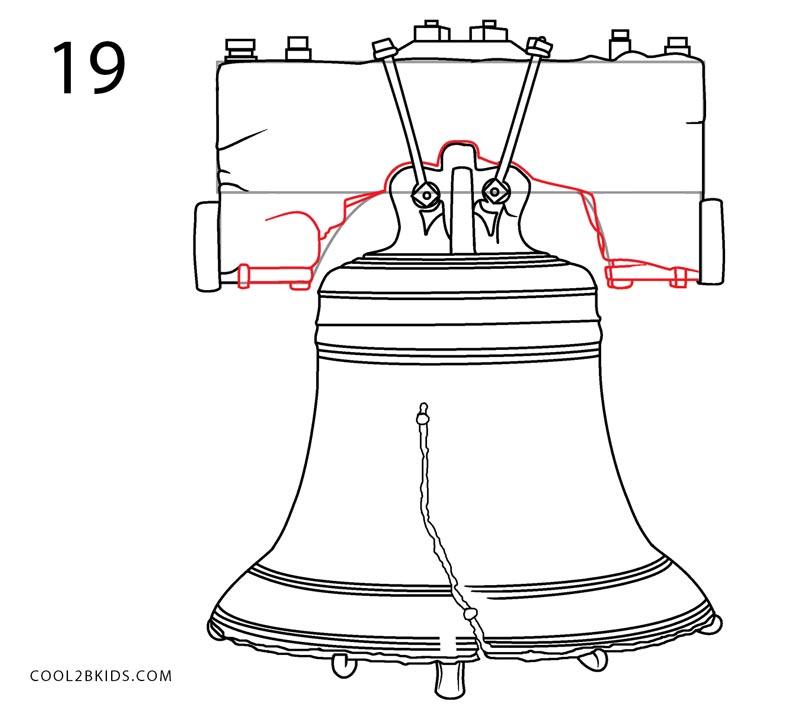
How to Draw the Liberty Bell Step 19
Step 20: Tiny wavy lines fill up the body of the yoke.

How to Draw the Liberty Bell Step 20
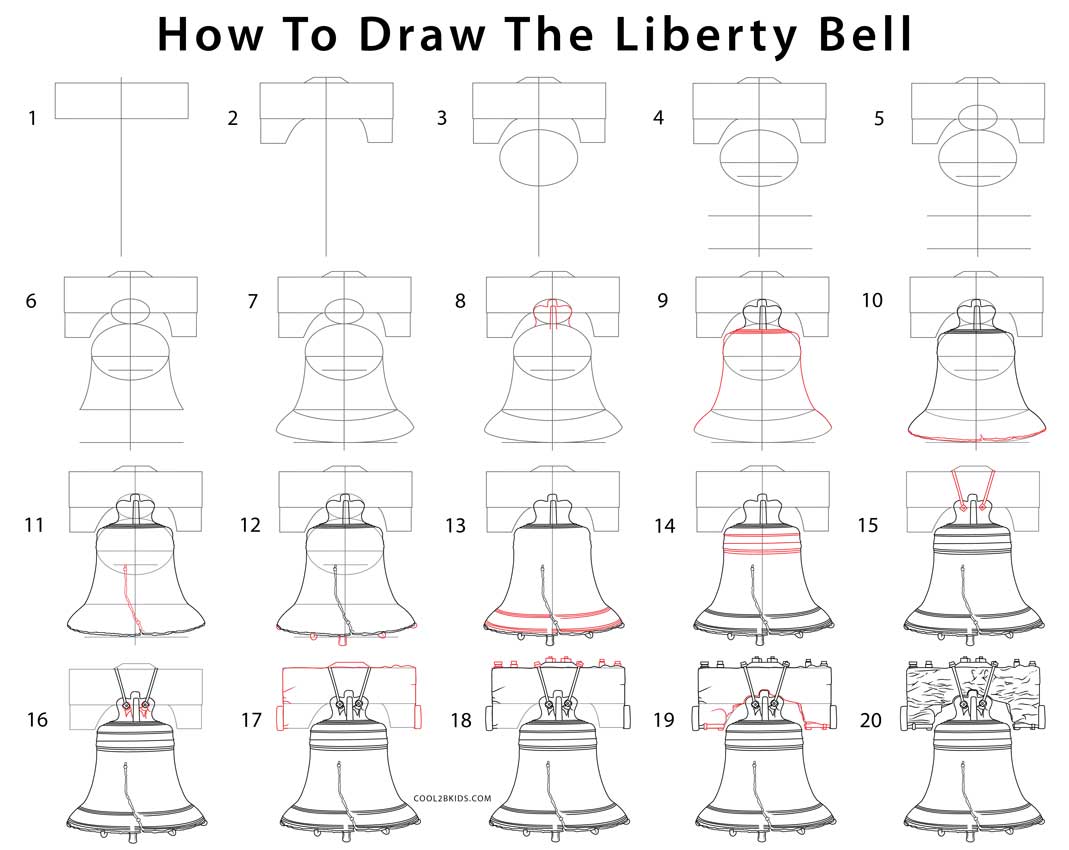
How to Draw the Liberty Bell Step by Step
The figure is now complete. The straight lines should be drawn using a scale. However, refrain from taking any aid while drawing the ovals. The arches and curved lines need a bit of practice to get them in perfect shape.


